Get these fitted straight and square and they'll work perfectly for years. Rush them and they'll annoy you every single time you use the shed.
You've got two choices: build a braced ledge-and-brace door from scratch (satisfying, customisable, good value) or buy a pre-made shed door (quick, neat, more expensive). Both work — here's how each goes:
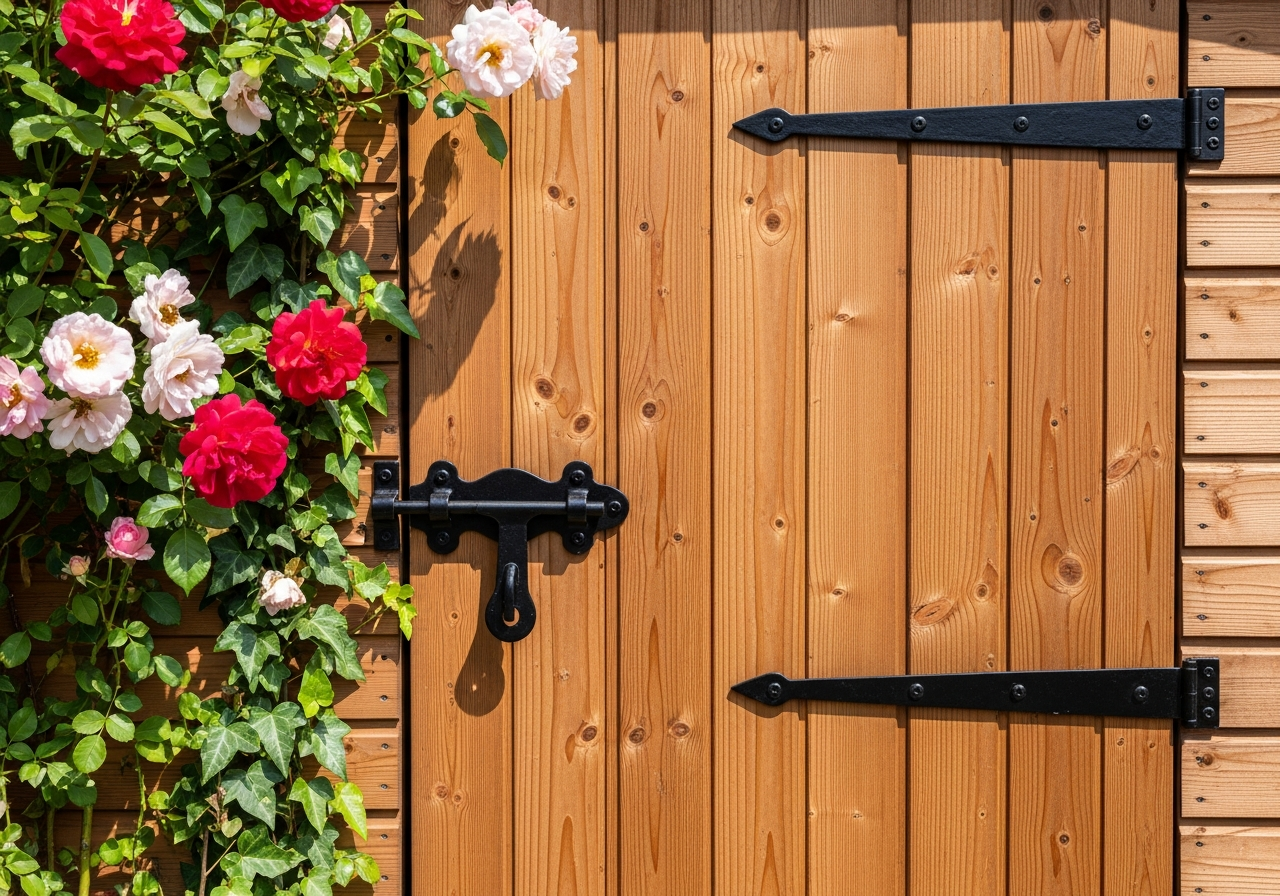
The proper traditional shed door. T&G boards held together by horizontal "ledges" and a diagonal "brace" — the brace runs from the bottom hinge corner up to the latch side. This is crucial: it runs upwards in the direction of the load, preventing the door from drooping over time.
Cut enough T&G boards (75–100mm wide) to make up the door width, plus a few mm for fitting clearance. Lay them out on a flat surface.
Mark and fix three horizontal ledges (100×25mm timber) across the boards — top, middle, and bottom. Use exterior grade screws coming through the T&G boards from the front. Alternatively, screw from behind and you get a cleaner front face.
Run a diagonal brace from the bottom hinge corner to the top latch corner. Cut the ends to sit flush against the ledges. This brace is structural — it stops the door parallelogramming over time.
Use three galvanised T-hinges for a standard door — top, middle, and bottom. Pre-drill the screw holes to avoid splitting. Make sure the screws go into solid timber on the frame, not just cladding.
Security: Sheds are targeted by thieves. Hasp and staple padlocks are only as strong as the screws holding them in. Use a proper through-bolted hasp with coach bolts that can't be unscrewed from outside. Better still, a hasp with a shielded padlock loop. A good shed padlock (Squire, Abus) costs £20–30 and is worth every penny.
Gaps: Leave a 3–4mm gap all round the door when fitting. Wood expands in the rain and contracts in dry weather. If your door is tight in summer, it'll be stuck solid in winter.
Double doors: For a workshop with large equipment, fit double doors at least 1200mm wide total. Use a rebate (one door has a strip that overlaps the other) or a solid astragal bar to seal the joint. One door should be fixed with top and bottom bolts, the other hinged normally.
Even a single small window makes a huge difference to a shed — light, ventilation, and it just feels less like a box. Here's how to fit one properly:
Frame the opening in your wall with a lintel (short header piece) above and a sill below. The opening should be about 10mm bigger than your window on all sides for fitting tolerance and expansion gaps.
The sill (the horizontal bit at the bottom of the window) must slope outwards at about 5–10° so water runs off it and away from the wall rather than pooling and rotting the frame. Cut your sill from a length of timber and nail a drip groove on the underside.
Offer up your window, check it's level, and fix it through the frame into your wall studs using screws through the inner frame. Use packing shims to get it perfectly level if needed.
Run a bead of exterior-grade silicone around the outside perimeter of the window where it meets the cladding. Add a drip flashing above the window (a strip of lead, aluminium, or even painted timber) to shed water over the top of the frame.
Window types: For a basic shed, single-glazed acrylic or polycarbonate panels in a timber frame are fine and cheap. For a home office or hobby room, proper double-glazed uPVC windows make a dramatic difference to warmth and condensation. Worth the extra money if you'll be spending time in there.
One section left: making it a space you actually want to be in.