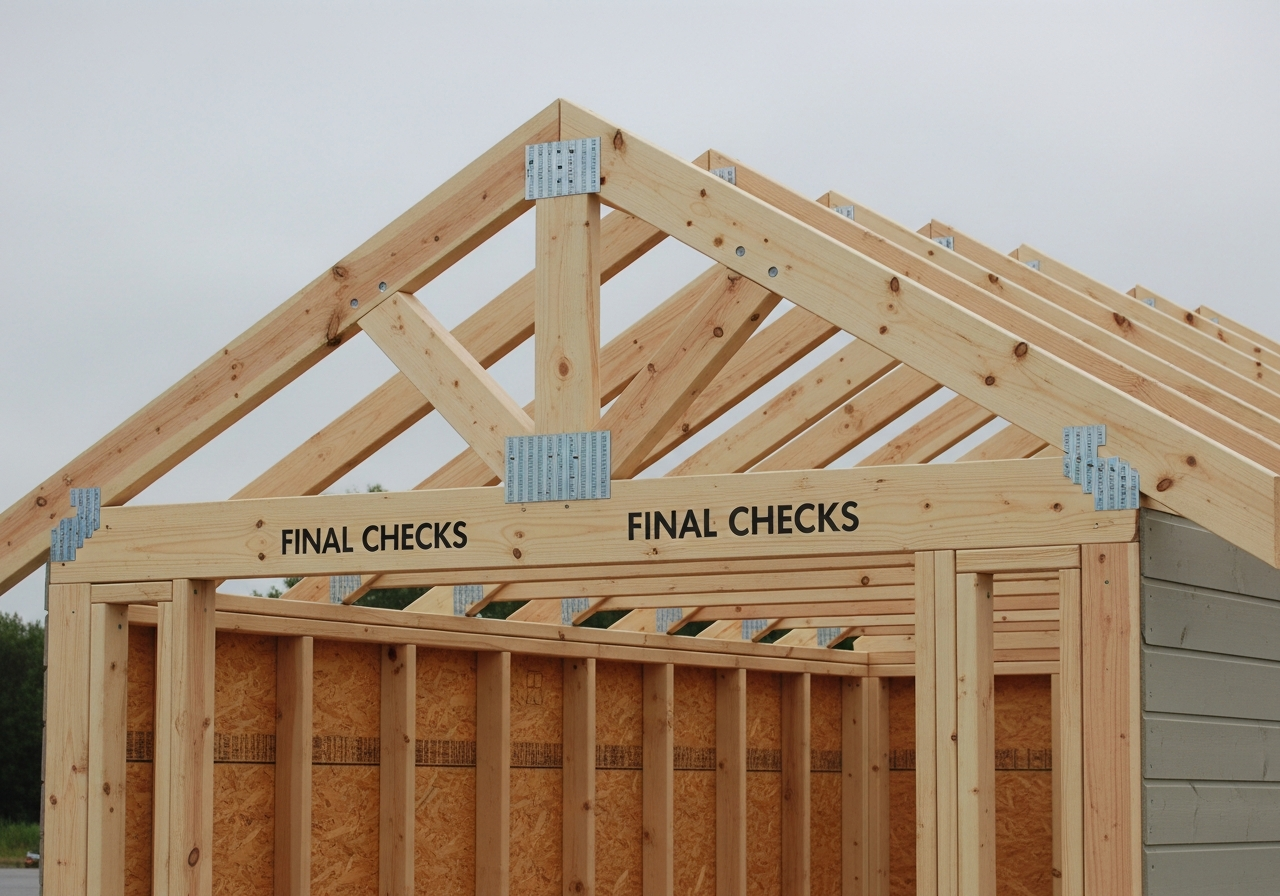
We live in Britain. The weather is aggressive. Let's make a roof that absolutely will not leak.
Shed roofs come in a few flavours. Here's what each involves:
The classic shed roof covering. Mineral felt (not the cheap green stuff) nailed over OSB or ply decking. Simple, affordable, and perfectly adequate. Expect 10–15 years before it needs replacing.
Cost: ££ | Lifespan: 10–15 years
A single-layer rubber membrane that goes on in one piece — no joints, no laps, no weak spots. More expensive than felt but genuinely excellent. Used on commercial flat roofs. Lifespan of 50+ years with minimal maintenance.
Cost: £££ | Lifespan: 50+ years
Individual asphalt shingles that give a proper "house" look. Great for apex roofs. Easy to apply, looks smart, moderate cost. A nice middle ground between felt and EPDM.
Cost: £££ | Lifespan: 20–30 years
Honest recommendation: If budget allows, go EPDM. It's genuinely brilliant — one piece, no joints, lasts decades, and removes the anxiety of checking your roof every time it rains. For a standard garden shed, mineral felt is perfectly fine though.
The most common method. Do it properly and it'll be watertight for years.
Fix your 11mm OSB3 sheets onto the roof joists, screwing at 150mm centres on edges. Stagger the joins. The deck needs to be solid with no flex — felt laid over a bouncy deck will crack over time.
Fit 50×25mm softwood battens along the eaves (bottom edge of the roof) and rake edges (sides). These lift the felt slightly at the edges and help water drip clear of the walls rather than running back under.
Start at the bottom (eaves). Cut a strip of felt about 300mm wide, fold it over the drip batten, and nail it down with clout nails (roofing nails) at 150mm centres. Use stainless or galvanised nails — ordinary steel ones rust and the felt loosens.
Work up the roof from the bottom, overlapping each course by at least 150mm (more on a low pitch). Nail the top edge of each course. On an apex roof, the ridge is dealt with last — we'll cover that shortly.
Cut a separate strip of felt and fold it over the ridge, nailing on both sides. Overlap the felt from each side by at least 150mm. Use extra nails and consider a bead of lap sealant along the top edge — this is where leaks most commonly start on apex roofs.
Running 25×50mm battens over the felt and screwing them into the rafters below pins the felt firmly and protects it from wind lift. Particularly worth doing in exposed gardens. Looks neater too.
Easier than felt in some ways, fussier in others. Here's the gist:
EPDM needs a clean, smooth deck — any lumps or screwheads will telegraph through. Use 18mm OSB and punch all screw heads flush. Sweep it clean.
Roll out the EPDM sheet with about 150mm overhang on all sides. Let it relax in the sun for 20–30 minutes before bonding.
Fold half the membrane back, apply the special EPDM bonding adhesive to both the deck and the back of the rubber, wait for it to go tacky, then carefully lay the rubber back down. Work out any bubbles as you go.
Trim the overhang to about 50mm, fold it over the edge and glue it down. Use EPDM-specific lap tape and sealant on corners. Done. It's properly waterproof and will still be working when your grandkids are using the shed.
Don't use contact adhesive from a DIY store on EPDM. It needs specific EPDM bonding adhesive — normal contact adhesive won't cure properly and the rubber will lift. Buy your EPDM as a kit from a specialist supplier.
Minimum pitch: EPDM works on very shallow pitches — even 1–2° is fine. Roofing felt needs at least 10° (about 1 in 6 fall). If your roof is nearly flat, EPDM is the only sensible choice.
Now let's finish the walls. Time for cladding.